Dough bowls, also known as trenchers, have transcended their humble origins as bread dough mixers to become cherished relics of history and sought-after home decor items. In this comprehensive guide, we will look in detail into the essence of these wooden treasures, exploring buying tips, versatile display ideas, and even how to craft your own easy and beautiful dough bowl centrepiece.
Table of Contents
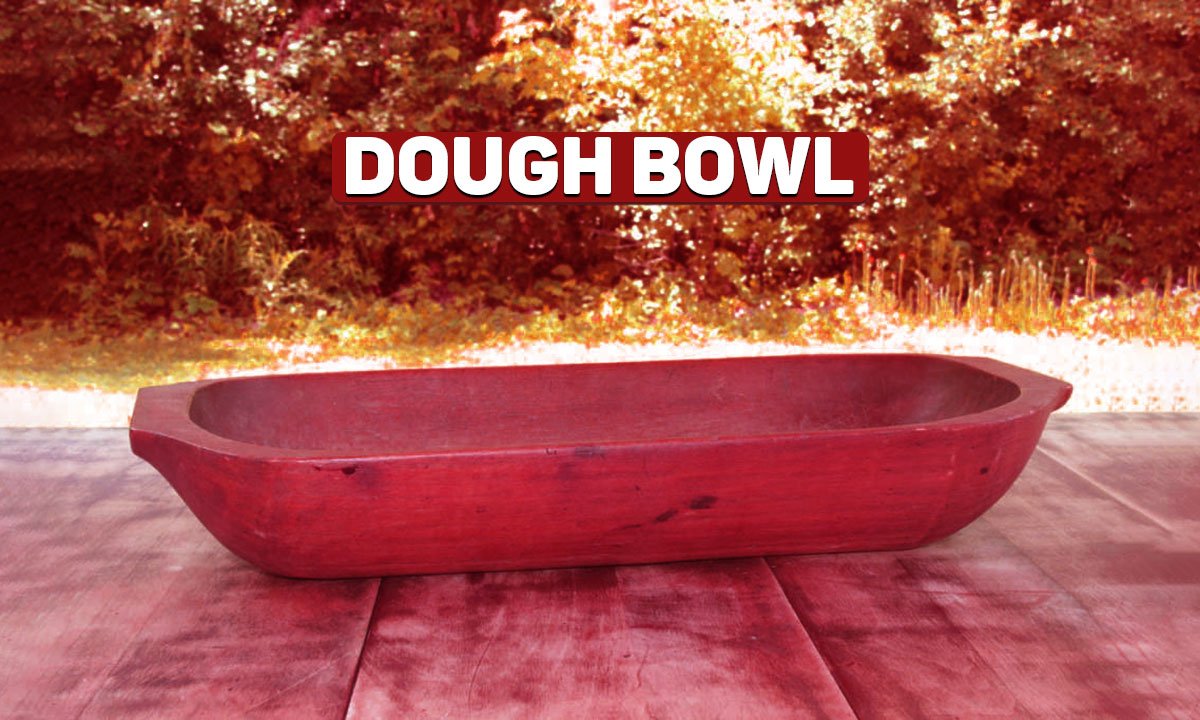
What is a Dough Bowl?
A dough bowl, deeply rooted in colonial times, is a wooden vessel traditionally used for bread dough mixing. Crafted from raw wood, these pieces of functional art served a dual purpose by providing natural insulation, keeping the yeast warm during the dough’s rise.
Buying Tips
1. Determine Your Size and Purpose
Before diving into the world of dough bowls, consider how and where you plan to use it. A larger size may suit a dining room table centerpiece, while a smaller one might be perfect for coffee tables or kitchen islands. The market offers a plethora of shapes and sizes to match your preferences.
2. Set a Budget
While dough bowls can be an investment, their longevity makes them worth the price. Reproductions start around $30, but authentic pieces can be pricier. Decide on your budget to guide your selection.
3. Authentic or Reproduction?
Choosing between an antique or reproduction dough bowl can be challenging. Reproductions, often indistinguishable from antiques, offer affordability without sacrificing quality. Your decision should align with personal preferences and budget considerations.
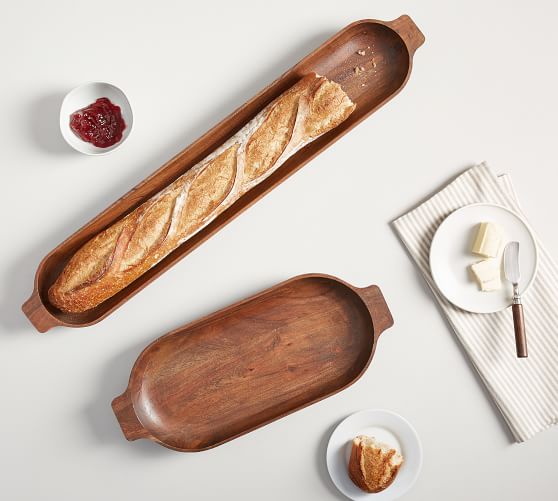
What Do You Display in a Dough Bowl?
The beauty of dough bowls lies in their versatility. From fresh flowers to faux fruit and foraged greenery, there are no styling rules. Embrace your creativity and use items you love to curate a stunning centerpiece.
An Arranging Tip
1. Soften the Hardness
Dough bowls, though charming, can appear stark. Add warmth and softness by placing a favorite tea towel at the bottom, letting its edges drape over the sides. This simple addition introduces color and texture.
2. Consider the Size
For long or deep dough bowls, use fillers at the bottom. Whether plastic grocery bags, tissue paper, or natural items like pinecones, these fillers provide a solid base and elevate decorative items.
How to make Dough Bowl at home
Crafting your very own DIY Dough Bowl is an exciting and rewarding venture, requiring a few essential tools and a touch of creativity. Here’s a simplified guide to help you bring this farmhouse-inspired piece to life:
To begin, gather the necessary materials:
- Large piece of hardwood
- Chainsaw or a large saw to remove bark
- Circular Saw
- Big and Medium Size Clamps
- Angle Grinder
- 4½“ 24 Grit Carbide Cup Wheel
- Sanding Flap Disc
- Tape Measure
- Hand Saw
- Stain (consider using Minwax Fruitwood Stain)
- Minwax Polycrylic – Satin finish
- Critter spray gun (optional)
- Java Gel Stain
- Hearing protection
- Safety goggles or face mask
- Breathing mask
Start by obtaining a sizable piece of hardwood, ideally delivered as a trunk section. Remove the bark using a chainsaw or a large saw, and use clamps to secure the wood.
Next, employ a Circular Saw to establish the workable width of the project, ensuring parallel sides. This step sets the stage for creating the bowl’s shape.
For rounding off the bottom of the bowl, use an Angle Grinder equipped with a 4½“ 24 Grit Carbide Cup Wheel. This tool efficiently carves the wood, allowing you to shape the base according to your preferences.
To create handles, make precise cuts on the top ends of the bowl using a Circular Saw. The depth and thickness can be adjusted based on your design preferences.
With the bowl’s basic structure complete, use an Angle Grinder and Sanding Flap Disc to refine the surface, eliminating rough edges and ensuring a smooth finish.
Apply a stain of your choice to enhance the wood’s colour. Consider using Minwax Fruitwood Stain for a warm and inviting look. Follow up with a Satin finish using Minwax Polycrylic, either brushed or sprayed with a Critter spray gun.
For added character and a touch of faux ageing, apply Java Gel Stain sparingly, using a cloth or sponge, on specific areas of the bowl.
Allow the finishes to dry thoroughly between coats, and once completed, your DIY Dough Bowl is ready to showcase. Experiment with different decorations and enjoy the rustic charm it brings to your home.
FAQ
How to Clean a Wooden Dough Bowl?
Prepare a mixture of one part white vinegar to five parts warm water. Apply it with a soft rag or sponge, ensuring thorough cleaning. Afterward, dry the bowl and apply a light layer of food-grade mineral oil for preservation.
Is a Wooden Dough Bowl Food Safe?
Many dough bowls are food safe, with product descriptions indicating this feature. Look for finishes like pure tung oil, raw linseed oil, beeswax, mineral oil, walnut oil, or carnauba wax.
Can You Use a Wooden Dough Bowl for Bread Making?
Absolutely! Ensure the finish is food safe and clean it properly after use.